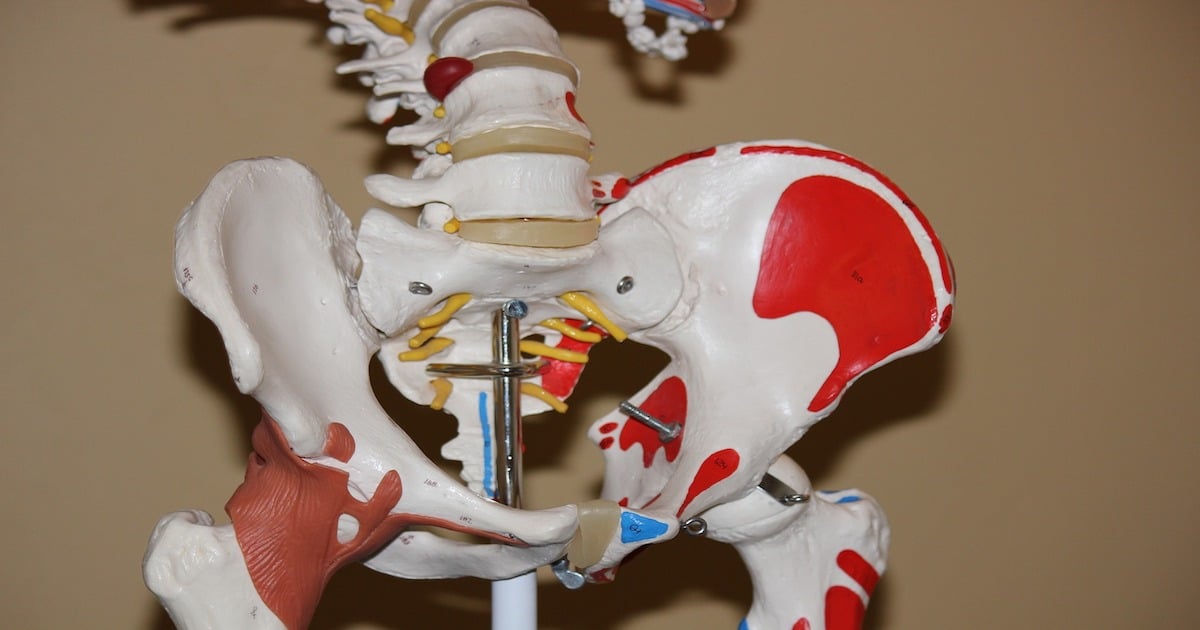
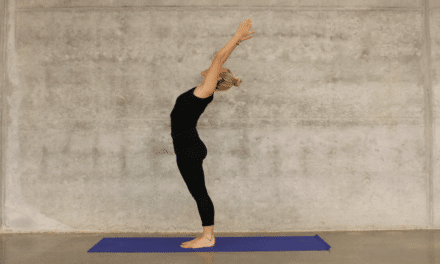
My hips are the tightest part of my body and require ample time to release them following each day. Sometimes I run short of time; however, I always try to stretch out my hips daily. I wanted to describe some of the exercises and stretches I do to help reduce tightness and induce overall relief for your body. Some of these include yoga poses that I learned throughout my private lessons in yoga a few years ago, and stretches from my physical therapist, massage therapist, and research into this subject. A large reason for this nationwide tightness in the hips is that many people spend most of their time working or going to school in chairs. Without good posture, the tightness can grow out of hand and cause many difficulties.
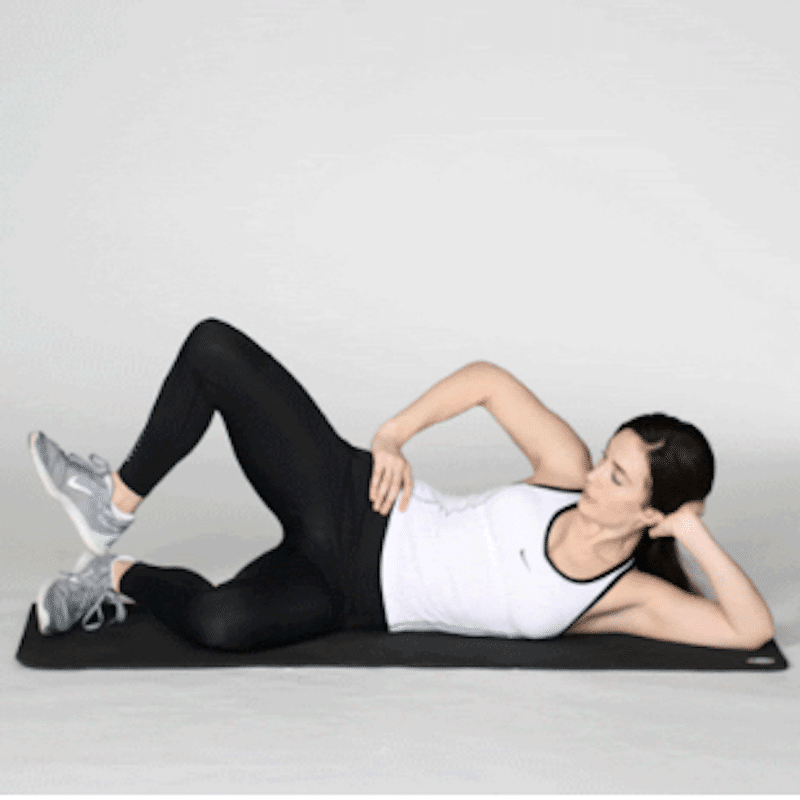
I want to stress how beneficial these releasers have been for my body. Reducing tightness in this area takes pressure away from the lower back and tightness build-up in your thighs. The reduction of tightness reduces inflammation (countering muscular dystrophy), makes it easier to walk and maintain a good posture, ensures optimal performance in physical activities, and makes it easier to sit in chairs for an extended time. Since the hips support the glutes (the strongest muscle in the human body), making sure this area is healthy can have benefits that you cannot comprehend. Therefore, I want to emphasize the need to reduce tightness in the hips due to the wide range of positive influences from simple exercises/stretches. Healthline compiled a list of exercises/stretches for the hips in an article named “13 Hip Openers.” The clamshell exercise is an exercise I do at least twice a week because it strengthens the hip flexors, ensures the flexors are not weak and inactive, and can tone your glutes. (1) Lie down on your side with your knees bent at about a 45-degree angle (2) Next, rest your head on the arm touching the ground. In contrast, place the other arm on your hip (3) Make sure your heels line up with your glutes and stack your legs/hips on top of each other (4) Keep your heels together and lift your top knee as high into the sky as you can while making sure not keep your bottom leg still. I usually do three sets of twenty repetitions with a rubber band to increase the exercise’s difficulty.
The next exercise I want to discuss is called the horizontal squat stretch. It releases tightness in the hips, groin, and back, allowing tension to suppress in these areas. (1) Kneel on the floor and place your knees wider than your hips (go as wide as you can until it is uncomfortable or you already feel a stretch in that area) (2) Next, line your ankles up with your knees extend your spine similar to the cow pose if you are familiar with it (3) Push your hips as far as you can back toward your heals. You should perform this for at least thirty seconds to a minute. This video displays how to perform the exercise if the instructions are not clear enough.
The subsequent two exercises reduce internal rotation within the hip. This reduces tension in the hip and hip flexors that can provide much comfort. GuerillaZen made a video called “How To Improve Hip Internal Rotation Hip | Mobilization,” describing two stretches that are difficult to explain without visuals. One involves lying down, bending your right leg towards the sky, and leaving your left leg flat on the floor. With the leg in the sky, allow it to fall further towards the right to feel the stretch. Do the same thing when repeating this with the other leg. For the other stretch, you will want to start sitting on the floor with your legs tucked to your chest. Then, angle your knee towards the ground while the leg positions itself away from your body to feel the stretch. Once again, repeat the stretch on the other side. The video will make it easier to understand. You should do each stretch for approximately thirty seconds if you want meaningful benefits.
The pigeon pose loosens hip flexors, hips, glutes, lower back, and thighs. (1) start on all fours (2) Move your right leg straight behind you while the left leg’s shin rests on the floor in front of your chest (3) then, bring your torso down in the direction of the shin, going as far you can without pain. Another way to describe it is to (1) get into downward dog, (2) with one of your legs staying back, moving the shin to a 90-degree angle in front of you write (3) then, bring the torso down as far as you can attempting to touch the shin. A video and a better description are in Very Well Fit’s article “How to Do Pigeon Pose (Eka Pada Rajakapotasana) in Yoga.”
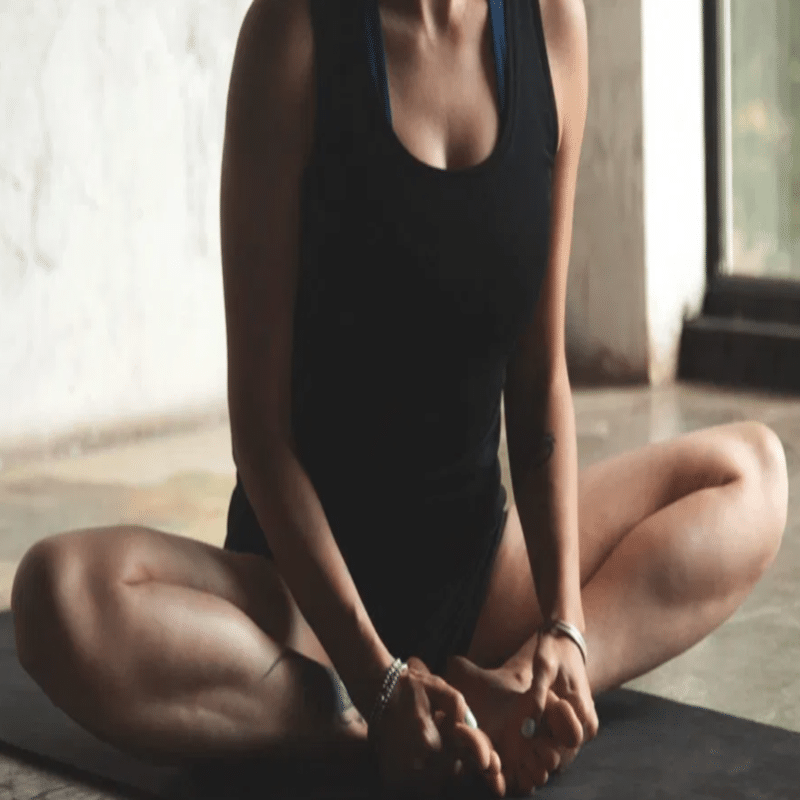
A seated butterfly stretch involves you (1) sitting on the floor with your feet together with a straight back (2) move your heels as close to the groin area as you can with your knees positioned to your sides (3) then, lay your hands on the feet and lean forward from your hips (you can gently push your elbows against your thighs to feel a deeper stretch.
